-DeeT's "What Compressor" Page
original page: Jan 28, 2000
last update: August 19, 2008
(added photos, provided sharper schematic images)
The What Compressor is a super transparent vocal and
instrument compressor that you can build.
"What Compressor"?
A few months ago, I was too cheap to purchase a good studio
compressor, so I decided to try to build one instead. By now I have
spent enough time to record an album and enough money to buy a few
good compressors, but what a ride it has been! The result of my
obsessive experimentation is the design featured here: a quiet, clean,
transparent compressor that caresses delicate vocal and instrument
tracks with a velvet touch.
On this web page you will find the complete story of the "What
Compressor": initial experiments, later refinements, design
trade-offs, and the all-important schematic, parts list and
construction tips.
The Wife of Invention
Much has been written of "mother necessity", but the wife has to
figure in there somewhere. My wife is a vocalist. (You can hear her
sing here.) We'd been working on making a
demo tape for her, and when it came time to lay down lead vocals, I
blew the dust off my Alesis 3630 compressor.
For those who haven't seen the 3630, it has a whole lotta
knobs. You can have any compression ratio, any attack and release
times, soft knee or hard knee, rms or peak... and I think I've left a
few out! Anyway we hooked up the compressor and started experimenting
with it. Unfortunately, we just couldn't get it to sound good with
her voice. I had previously had a similar experience trying to get a
good sound playing my bass through it. The best sound was always in
the "bypass" position :(
I assumed, as I had done with my earlier failed bass experiment, that
I simply didn't know how to use compressors. After all, the Alesis
does everything a compressor could possibly do. Sure, it's a low cost
unit, but I assumed the difference between this and a fancier unit
would be balanced ins and outs and lower noise. Feature-wise, the
Alesis should stand up against anything. I mean look at all those
knobs!!
The Inspiration
A few days later I was at my friend Scott's house. Scott also does
music production so I mentioned my compressor troubles. Apparently he
had had the same problem. He also owns an Alesis compressor, he said,
but he wasn't sure where it was... maybe in a closet somewhere.
Anyway, Scott invited me to try these impressive-looking green (or
were they blue?) compressors labeled "Joe Meek". They didn't have as
many knobs as the Alesis, but they had great big lighted VU meters
with real movements, which more than made up for the paucity of
controls. Scott connected a microphone and headphones and let me
play.
The difference was striking and immediately apparent. The Joe Meek
has four knobs, and no matter what you do, you get a sound that is
useful for something. Even with large amounts of
compression, the right setting of the knobs provides a transparency I
wouldn't have believed possible. The Joe Meek can squish the heck out
of a wave and you'd hardly know it.
Lucky for anyone who is enjoying this story, I'm not rich. I would
have just bought a Joe Meek compressor and that would be that. [Uh, I
don't mean to say that Joe Meek compressors are exceptionally
expensive. They're really not.] Not wanting to shell out for a
compressor and being utterly fascinated with the sound, I determined
then and there to learn what was so special about the Joe Meek and
attempt to imitate it. Little did I know I was embarking on a Journey
that would take months and cost a good deal more than a Joe Meek
compressor. Was it worth it? Absolutely!
The Joe Meek Difference
Danger: Curves Ahead
At the heart of the Joe Meek compressor is a photoresistor.
Photoresistors were used in many of the best vintage compressors but
much more popular today are VCAs (Voltage Controlled Amplifiers). A
compressor's job is to reduce the output level in a manner that is
proportional to the input level. Photoresistors do that job
imperfectly (nobody was complaining in the early 1960s), while VCAs do
the job with greater accuracy and control.
 Here is a graph
showing a typical compression curve, realizable with a VCA. The
horizontal axis represents input signal level and the vertical axis
represents output level. As you can see, the output matches the input
exactly until a certain threshold is reached. Above the threshold,
increases in input level still cause increases in output level, but a
large change in the input causes only a small change in the output.
This is the very definition of compression and a machine that can
realize a curve this straight is an engineer's wet dream. Nowadays we
have no shortage of happy engineers, and the Alesis compressor is more
than capable of such performance.
Here is a graph
showing a typical compression curve, realizable with a VCA. The
horizontal axis represents input signal level and the vertical axis
represents output level. As you can see, the output matches the input
exactly until a certain threshold is reached. Above the threshold,
increases in input level still cause increases in output level, but a
large change in the input causes only a small change in the output.
This is the very definition of compression and a machine that can
realize a curve this straight is an engineer's wet dream. Nowadays we
have no shortage of happy engineers, and the Alesis compressor is more
than capable of such performance.
 By
contrast, here is a graph showing the typical compression curve
realizable using a photoresistor. The output level tracks with the
input at first, but somewhere near some ill-defined "threshold", the
output gain tapers off. For a while there, the curve actually looks
like the perfect compression curve, but then the compression softens
up and eventually poops out. For very strong input signals, the
output again changes the same amount as the input, just with the
volume turned down a bit. When one is shooting for the mathematical
perfection of the earlier graph, this one doesn't make engineers
terribly proud. But it worked in a pinch in the old vacuum tube days.
By
contrast, here is a graph showing the typical compression curve
realizable using a photoresistor. The output level tracks with the
input at first, but somewhere near some ill-defined "threshold", the
output gain tapers off. For a while there, the curve actually looks
like the perfect compression curve, but then the compression softens
up and eventually poops out. For very strong input signals, the
output again changes the same amount as the input, just with the
volume turned down a bit. When one is shooting for the mathematical
perfection of the earlier graph, this one doesn't make engineers
terribly proud. But it worked in a pinch in the old vacuum tube days.
But let's put numbers aside for a moment. Do our ears do
mathematics?? Look at both curves again and ask yourself which one
would probably sound better to your ears. It's only natural that
smoother transitions will be less intrusive than sharp ones. If your
motivations for compressing are mathematical in nature (say, if you're
implementing a compander-based noise reduction system or providing
precise limiting to protect against overloading an amplifier), then
you're far better off with what's behind curtain #1. But if you just
want to listen to a compressed sound and enjoy it, don't make
math, make music.
The Envelope, Please
The other feature that sets the Joe Meek compressor apart is its
unique behavior with respect to time. All compressors contain what is
called an "envelope generator" to control the speed at which the gain
is reduced and allowed to return to normal. Most compressors provide
knobs controlling the attack and release times, so the user can adjust
the timings for specific purposes. Generally you want a fast attack,
so loud sounds don't escape uncompressed, and a slow decay, so the
listener won't hear objectionable "pumping" as the volume is turned up
and down Barry Gibb style.
 Here is an
example of an envelope generator's behavior. The top line shows a
brief pulse in the input signal. This could be caused by someone
yelling "boo!" into a microphone, then remaining quiet for a few
seconds. The bottom line shows the resulting envelope. It rises with
the input signal, but not immediately. While the input stays loud,
the envelope signal remains high. Then comes the release time. The
input signal is gone, but it takes quite a while for the envelope to
recover. This has the beneficial effect that when the average input
signal level remains the same the volume isn't constantly fluctuating
up and down. The compressor thus "rides the peaks" in the input
signal, without "riding the wave" and bouncing around a lot.
(Electronics enthusiasts probably already recognize that an integrator
is at work here. Good catch!)
Here is an
example of an envelope generator's behavior. The top line shows a
brief pulse in the input signal. This could be caused by someone
yelling "boo!" into a microphone, then remaining quiet for a few
seconds. The bottom line shows the resulting envelope. It rises with
the input signal, but not immediately. While the input stays loud,
the envelope signal remains high. Then comes the release time. The
input signal is gone, but it takes quite a while for the envelope to
recover. This has the beneficial effect that when the average input
signal level remains the same the volume isn't constantly fluctuating
up and down. The compressor thus "rides the peaks" in the input
signal, without "riding the wave" and bouncing around a lot.
(Electronics enthusiasts probably already recognize that an integrator
is at work here. Good catch!)
The Joe Meek compressor is special in that it has two
(countem, two!) different release times. Brief impulses in the input
cause a quick release, but the loss of a sustained input level causes
a slower release. To understand the need for dual release times,
let's think for a moment about what our ears do every day.
Let's say we are sitting quietly, just listening to the gentle
whirring of our hard disk and computer fan. Ahhh, isn't that nice?
Now let's say you slam the space bar unusually hard: bang! Did you
notice what just happened? Your ears had to deal with a louder sound,
so they sort of "turned down the volume" inside your head. After the
brief noise was gone, you could hear your hard disk whirring again,
but it took your ears a small amount of time to readjust to the
quieter environment. Try it!
Now let's say you're listening to that hard disk again, when your modem
suddenly answers. "Beeeep...phwchchchchchchchchk!" Doggone it! I
thought you'd shut that thing off. Anyway, your ears had no trouble
getting comfortable with the louder sound coming from the modem, and
after the modem quits, they adjust back. But did you notice? Because
the modem sound was around longer, it took your ears just a little
longer to recover from that than from the brief sound earlier.
So what does all this mean? It means that inside your brain is a Joe
Meek compressor! Well, not really... but your ears really do "turn
the volume up and down" in response to the sounds around you, and they
do take different lengths of time to recover from loud sounds,
depending on the duration of the louder sound. Now here's the key:
if the compressor does to the sound what your brain would have
done anyway, you tend not to notice it. That's the magic behind
Joe Meek's marvelous transparency: it's distorting the heck out of the
wave, in just the same way your brain does all the time. So, it
doesn't sound mangled, even though it most certainly is. Cool trick,
eh?
 This is
what the dual release times look like. On the top is the input signal
level. A brief burst is followed by a brief silence, then comes a
longer loud sound, and silence again. On the bottom is the envelope,
employing Joe Meek's (and your ears') dual release times. The brief
impulse causes the attack, followed by a decay that is slow, but not
terribly slow. The longer sound induces the exact same rate of
attack, but the decay is much more gradual.
This is
what the dual release times look like. On the top is the input signal
level. A brief burst is followed by a brief silence, then comes a
longer loud sound, and silence again. On the bottom is the envelope,
employing Joe Meek's (and your ears') dual release times. The brief
impulse causes the attack, followed by a decay that is slow, but not
terribly slow. The longer sound induces the exact same rate of
attack, but the decay is much more gradual.
The "Joe Cheep" Design
Once I had worked out the above and felt I was on to the essence of
the Joe Meek sound, I decided to publish my little hack. It is still
available.
Hack alert! Hack alert! The files listed in the next
paragraph are not the What Compressor but an earlier effort.
If you're looking for the schematics for the What Compressor,
please proceed to the bottom of this page.
To build your very own "Joe Cheep" compressor, here are the schematic, circuit description, and parts list and construction hints.
Beyond Joe Cheep
The story should have ended there, perhaps, but my wife is a really
good singer, and the Joe Cheep just wasn't cutting it. My
curiosity wouldn't leave me alone, so I got back to work.
She Sells Sea Shells
Compressors have a tendency to exaggerate sibilance. This is because
the amount of energy in an "S" sound is substantially less than the
energy in voiced sounds. When the "S" sound arrives, the compressor
detects the drop in incoming signal level and turns up the gain and
preSto! You've got a sibilance problem.
The traditional solution is something called a de-esser. The most
common type of de-esser is little more than a special compressor that
is particularly sensitive to sibilance frequencies. When the "S"
sound comes along, the de-esser turns down the volume, and the
sibilance problem is solved.
I didn't find this solution very satisfying and found another way to
look at this issue.
The Highs Have It
Anyone who has worked with sound reinforcement or recording knows that
bass frequencies use much more power than the higher frequencies.
Yet, when we buy speakers or a stereo, we want "flat" (equal) response
to all frequencies. What is the explanation for this apparent
paradox?
The answer is that our ears are not equally sensitive to all
frequencies. It takes a powerful bass signal in order for us to
consider it "loud", whereas a comparatively small amount of power at a
high frequency can send us running for the exits. So, a mix that
sounds even to our ears must have lots of bass frequencies and fewer
high frequencies.
If a compressor could be made to agree with our perception of volume,
to regard levels as equal that we hear as equal, that might solve a
lot of problems. For one thing, there would be no need for a
"de-esser", because the "S" sounds just as loud to us as the rest of
the word. The compressor would simply "do it right the first time"
and not turn up the volume on the "S" sounds. Another benefit is that
the tendency of compressors to "pump with the bass" would be
mitigated, since the compressor wouldn't consider the bass to be any
louder than we think it is.
Okay, so I knew what I had to do, but what is the curve?
What is happening that causes our ears to be more sensitive to high
frequencies? I'm no ear expert, but here's the line of reasoning that
led me to the curve I'm using. I assume, first, that the apparent
loudness of a sound is proportional to the amount of energy transfered
to the ear drum. Physics says that an ear drum wiggling 1mm at 100Hz
has half the energy as it does wiggling the same distance at 200 Hz.
If my initial assumption is correct and I can ignore other factors,
that means the ear's sensitivity to low frequencies drops off at 3dB
per octave.
With this goal in mind, I developed a filter to tailor the
compressor's response to my idea of the ear's characteristics. The
addition of this filter rocketed the sound from "Joe Cheep" to "Whoa,
Deep!", a delicious, sensual experience. We started recording with
this new sound, and we were very happy with it. But there was one
improvement still to come.
The "April Resistor"
One day April was mixing her vocals and she told me I wasn't going to
believe this, but when she plays back a mix of both dry and compressed
vocals, it sounds better than either compressed or dry, at any level.
I assumed she was confusing some other effect, but I found I could
hear it, too! A little online research revealed that the practice of
mixing dry and compressed vocals is known, if a bit obscure. It
restores lost spectral content, at the cost of limiting the maximum
amount of gain reduction possible.
I decided that a "mix" knob on a compressor could be a hard sell and
set out to find a "magic ratio" of compressed to dry that sounds
transparent, yet still permits a decent amount of compression. I
settled on a maximum compression amount of 14 dB, which isn't super
high, but it's higher than is usually practical for most vocal and
instrument tracks, and the improvement in the sound was undeniable.
Can I Hear It?
Here are some
low bitrate mp3 files featuring my wife's vocals before and after 12 dB (for
pop vocals, a lot) of compression. After hearing the compressed track,
the uncompressed one sounds thin. Nuances on the uncompressed track
are easily lost in a mix.
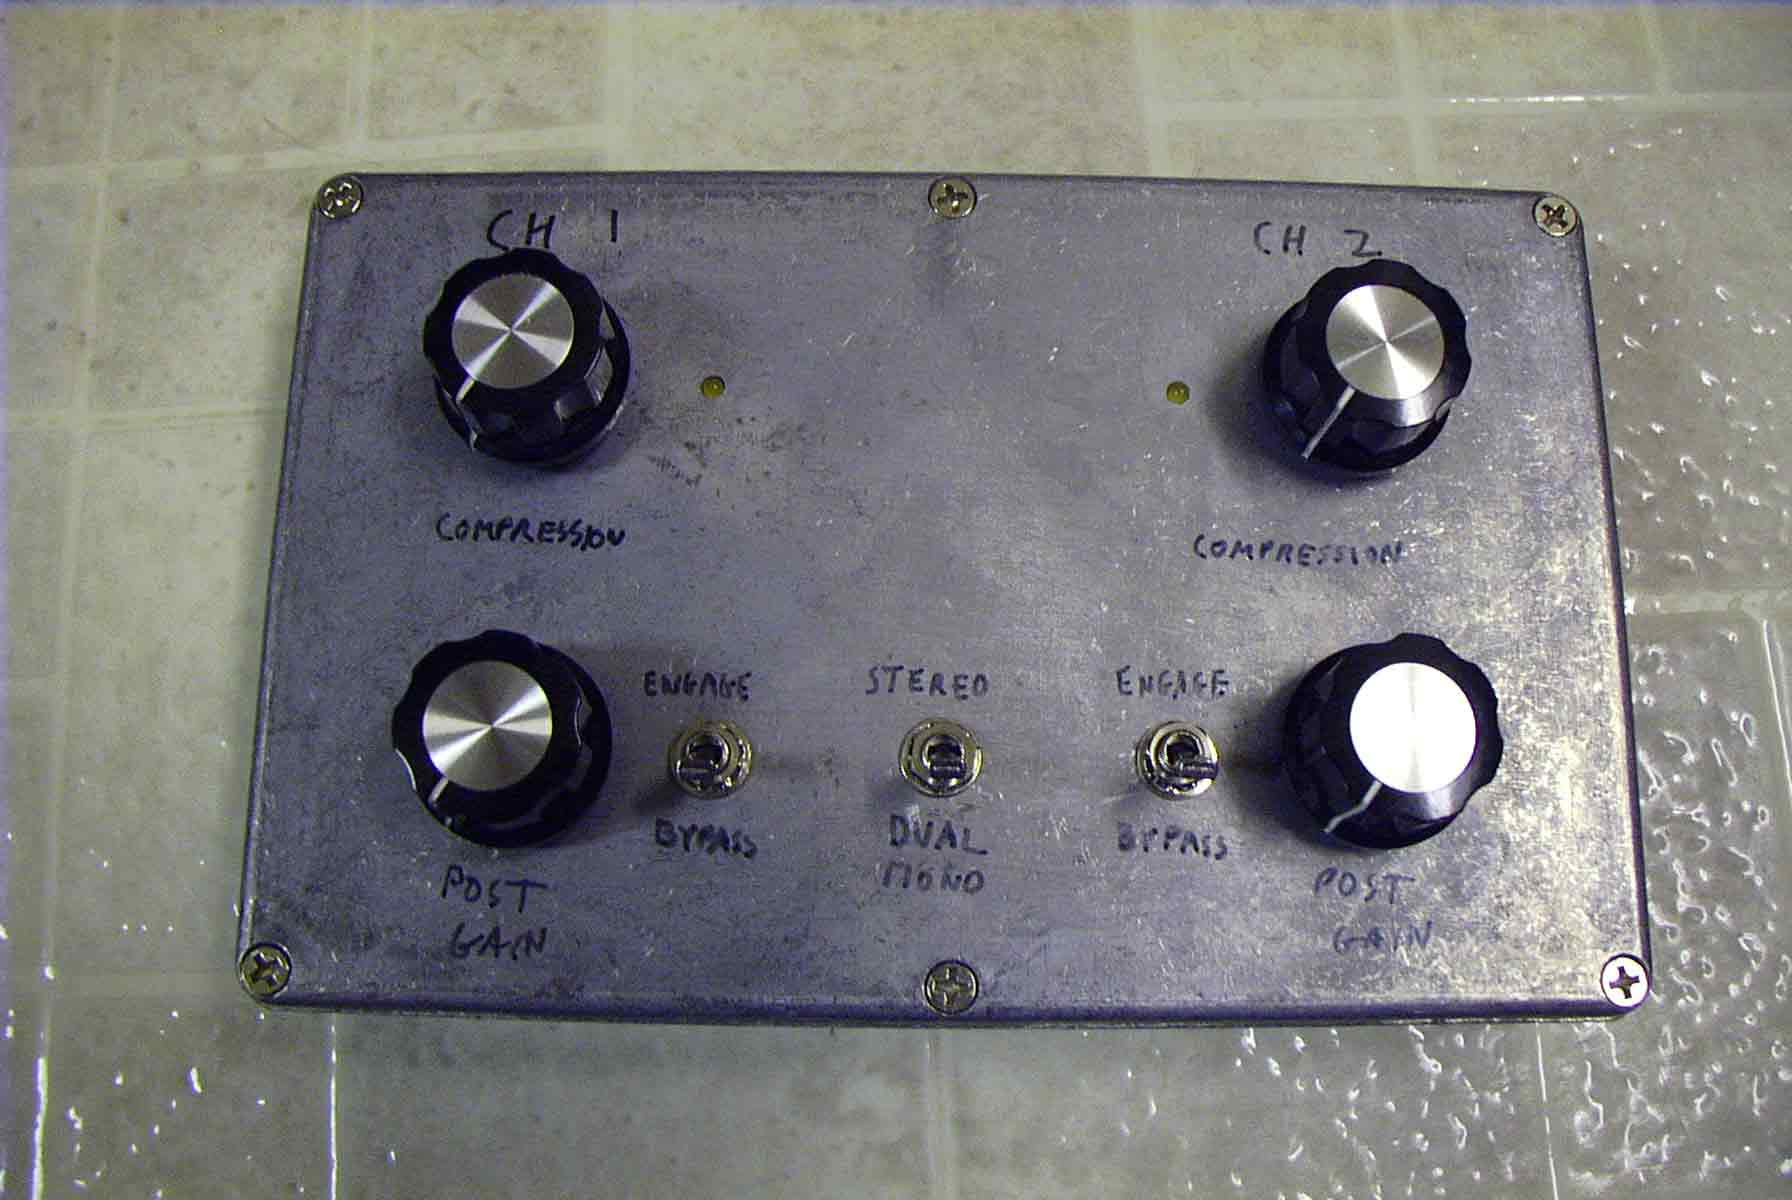
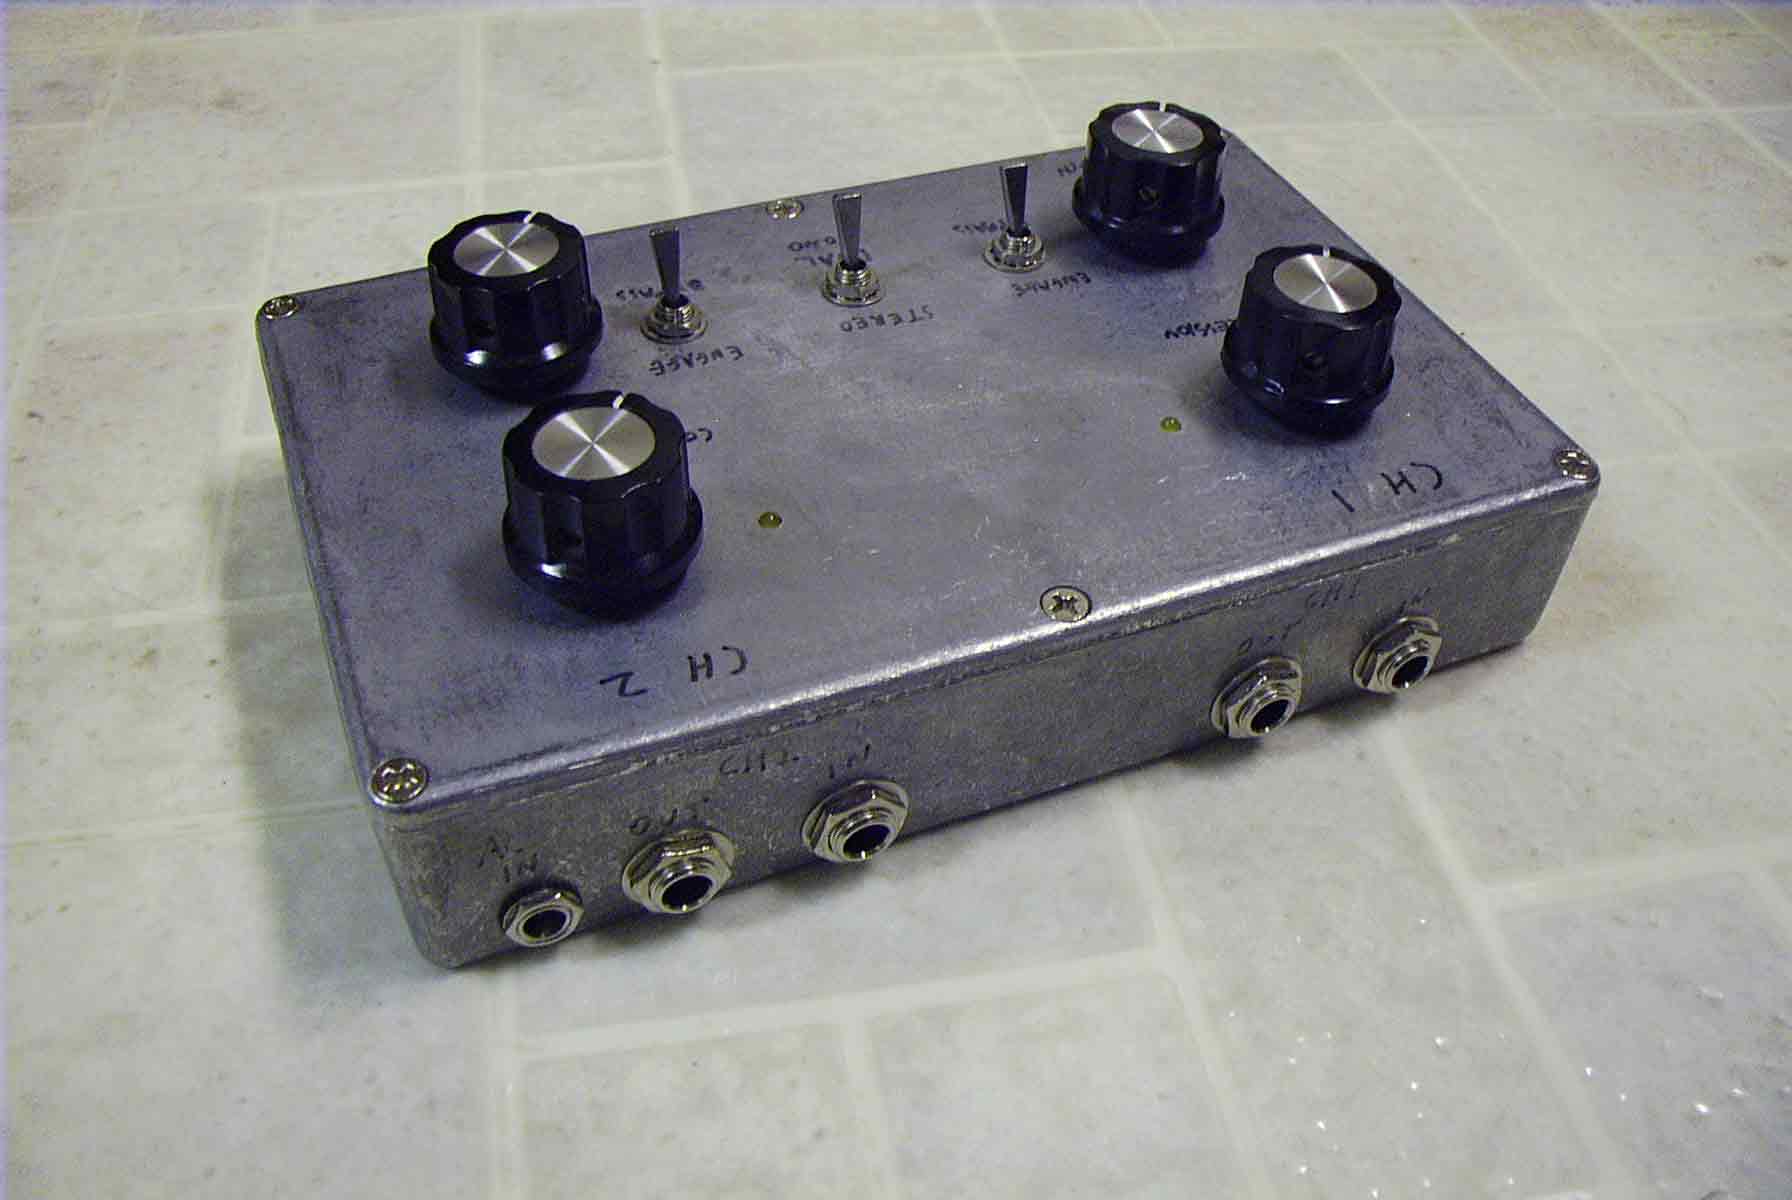
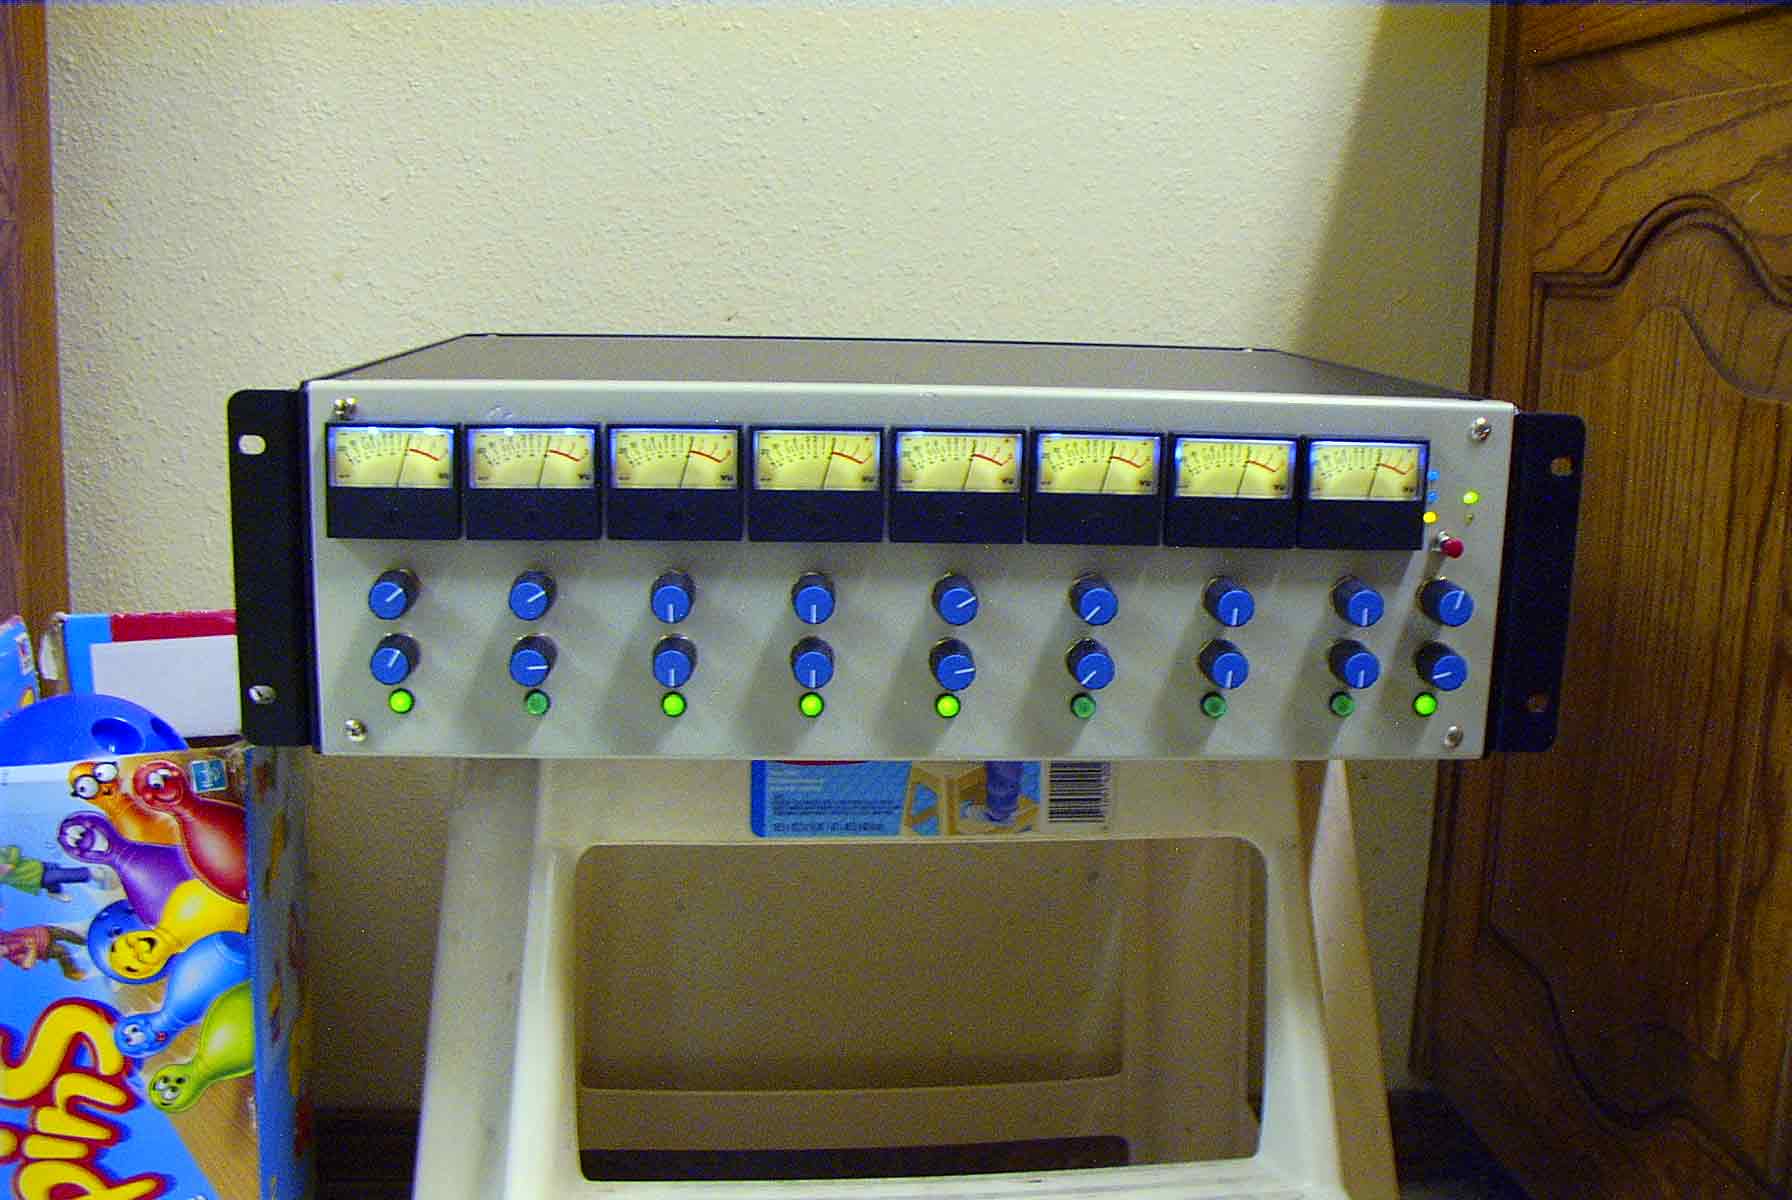
Can I See It?
Finally I've uploaded a few pictures.
How About Specs?
We have an audio analyzer where I work, so I can oblige.
Compression modes: Stereo or Dual mono, true bypass
Dynamic Range: >120dB
THD @ 1KHz +4dBu: <0.05% for all knob settings
Maximum Gain Reduction: 14dB
Stereo Tracking Error: <1dB
Compression Ratio: Variable, Max. Approx. 1.5:1
How Can I Get Me One Of Those?
If you'd like to build your very own "What Compressor", here is all
the information.
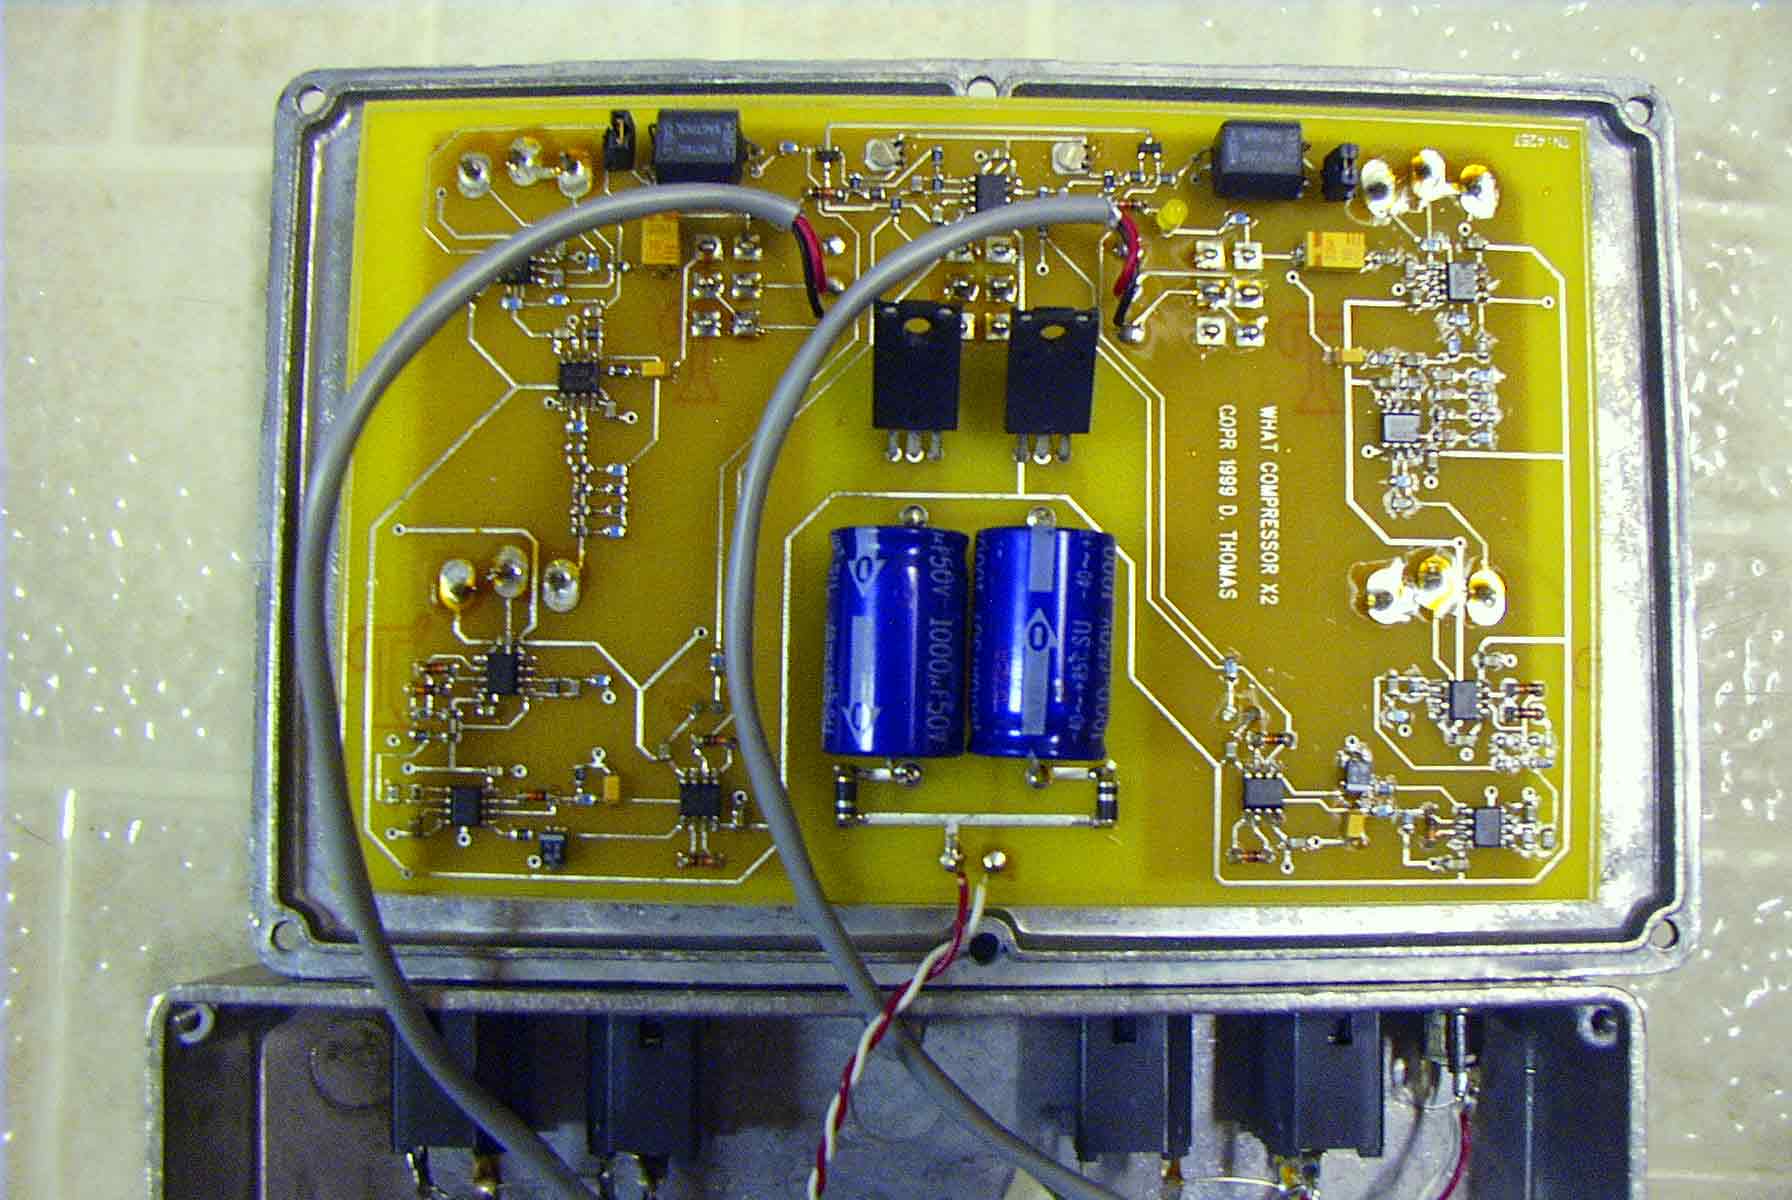
I've also built ten prototypes so others could help me evaluate the
design, but I probably don't need to be buried with all ten when I
die. They're somewhat ugly (diecast box) but super clean electrically
and mechanically, with all surface mount construction. Some of these
prototypes are spoken for, but others are not. If you think you might
like to buy a "What Compressor" prototype (subject to availability of
course), send me an email.
Go
![[back]](back.gif) to
-DeeT's Hacks Page.
to
-DeeT's Hacks Page.
David B. Thomas
(dt@dt.prohosting.com)